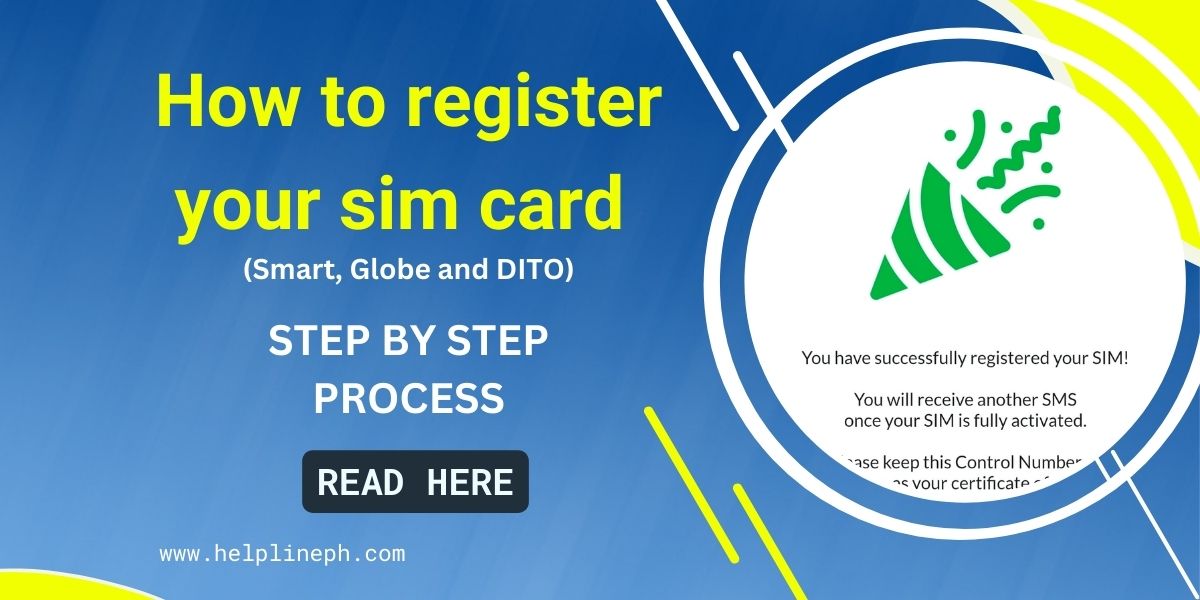
How to register your sim card (Smart, Globe and DITO)
What is Sim Card Registration Act?
Republic Act No. 11934 or the SIM Registration Act (SRA) requires all new subscribers to register their SIM card prior to activation, and for existing subscribers to avoid deactivation.
The Implementing Rules and Regulations (IRR) of the SRA issued by the National Telecommunications Commission shall take effect on 27 December 2022.
The law promotes accountability on the use of the SIM card and provides competent authorities the necessary tools to detect and stop criminal activities such as text scams, cybercrimes, terrorism, and other offenses committed through text messages, voice calls and other relevant telecommunications services.
SMART SIM CARD REGISTRATION
Here’s the step by step process in registering sim card (via SMART) .
What do you need:
- Government Issued ID/ Valid ID with Picture
- EXCELLENT data/wifi connection
- Well-lit area for Selfie verification
- A LOT OF PATIENCE.
Links you needed:
We are given 180 days/6 months to register our sim card starting Today, December 27. Failure to register will result in SIM Card deactivation.
Here is an example step by step process on sim card registration:
Total Time Process: 48mins
Start: 8:03am
End: 8:51am
Step 1. Prepare your ID, phone and make sure your connection is excellent in a well lit area.
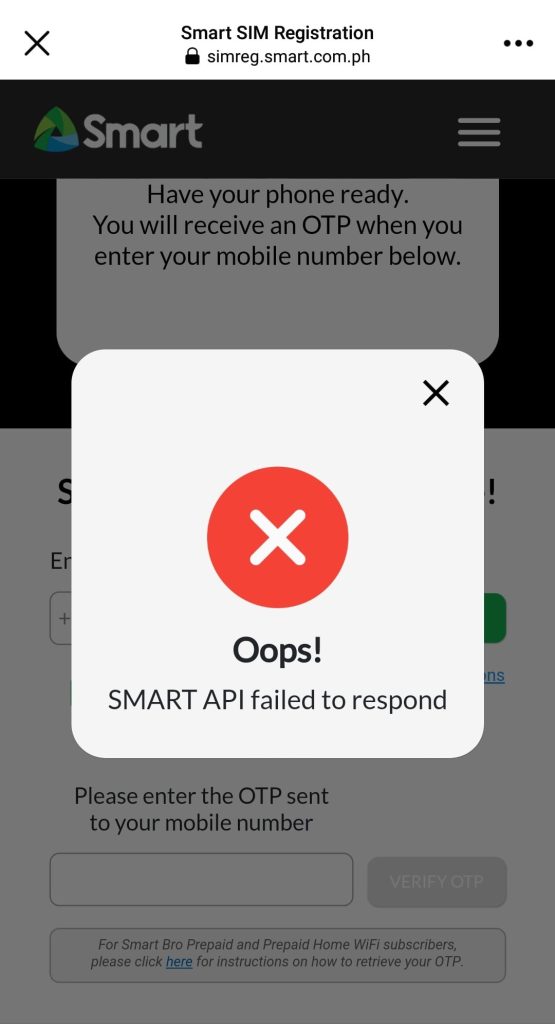
Step 2. Link will Redirect you to Step 1. Have your phone ready. You will receive an OTP once you enter your number.
![]()
Step 3. When the Signal is weak or the Server is busy it will prompt “Oops! SMART API Failed to respond”. When this happens. Just keep on trying, or resending.
Step 4. Once okay you will receive a prompt “Success! Your mobile number was successfully verified”
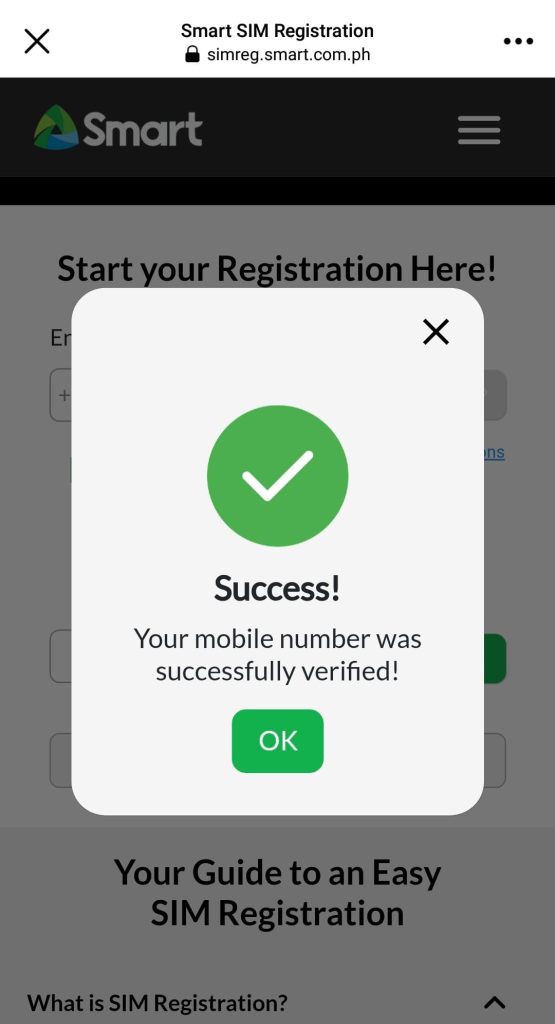
Step 5. Just click “OK”
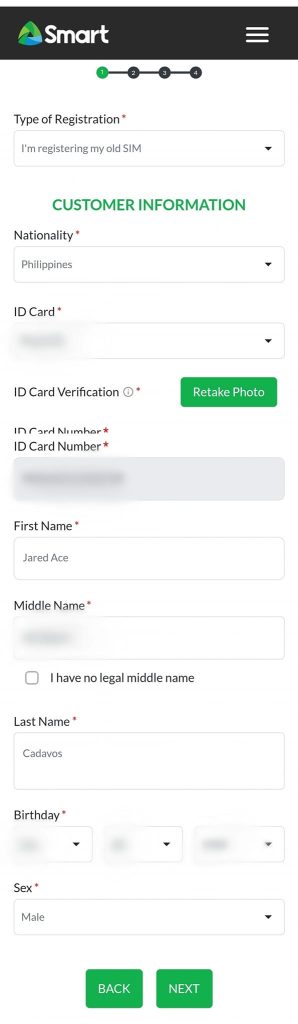
Step 6: Select your Type of Registration. I chose “Registering Old SIM”
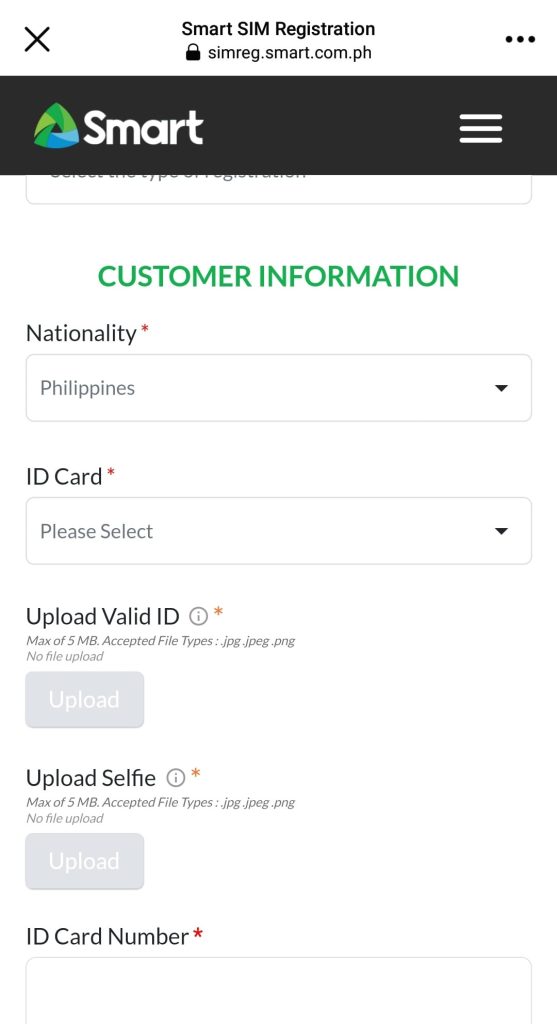
Step 7. Fill in the Customer Information
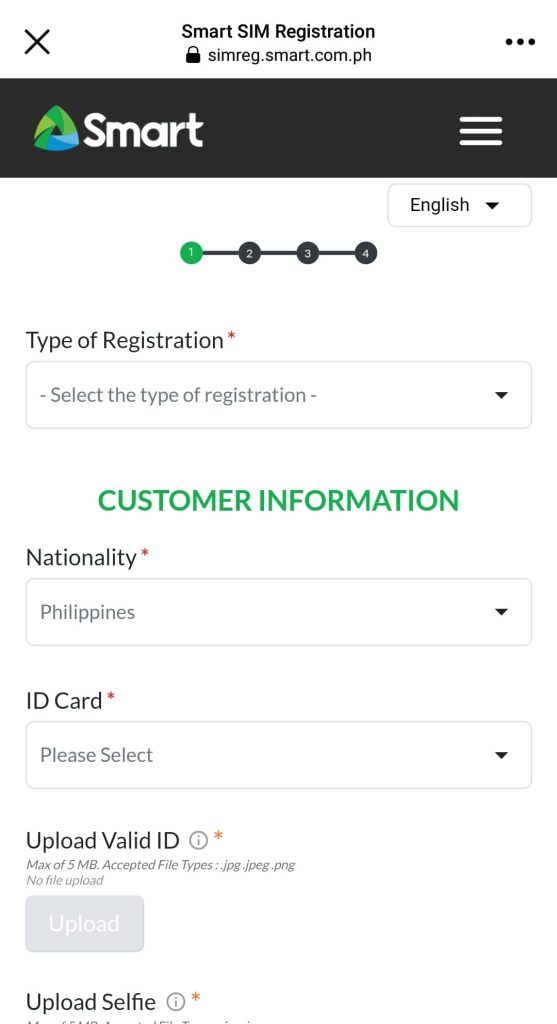
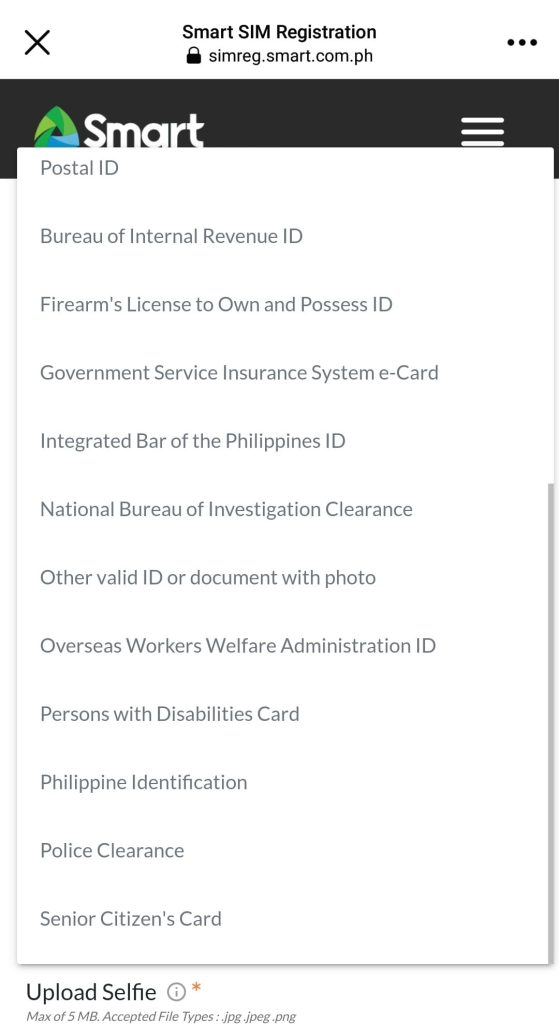
Step 8. Prepare your Valid ID and check the ID you’ll utilize among the list.
List of Valid ID’s

Step 9. Take a Picture of your ID.
Step 10. Take a Selfie.
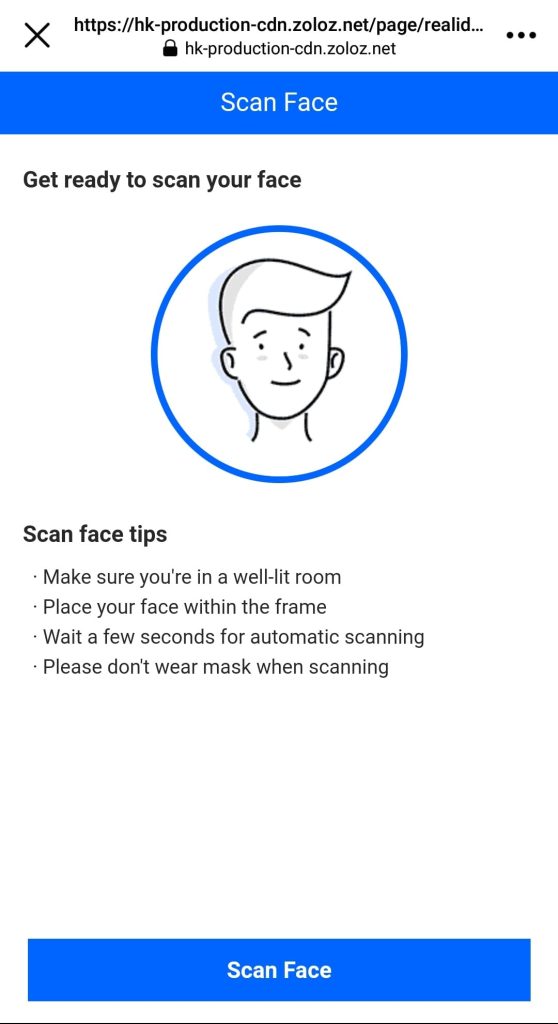
Step 11. Have patience. It took a couple of tries before the system read ID and accepted selfie. Make sure you’re in a well-lit area and the pictures are clear.
Once okay, it will prompt
“We have successfully captured your ID information. Please click OK to proceed to the next step.”

Step 12. Simply Fill in the information needed and click NEXT.
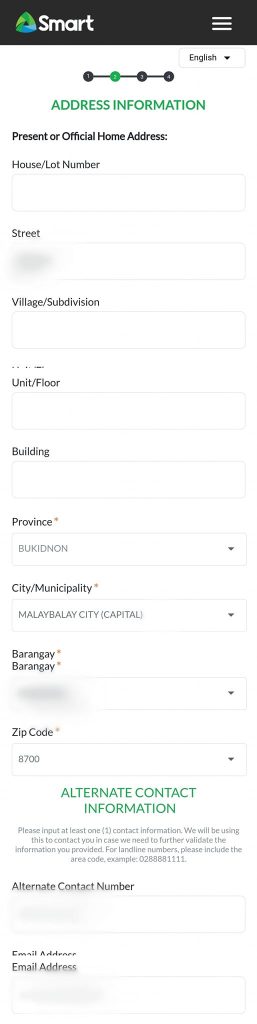
Step 13. Address Information. Simply Fill in the information needed and click NEXT.
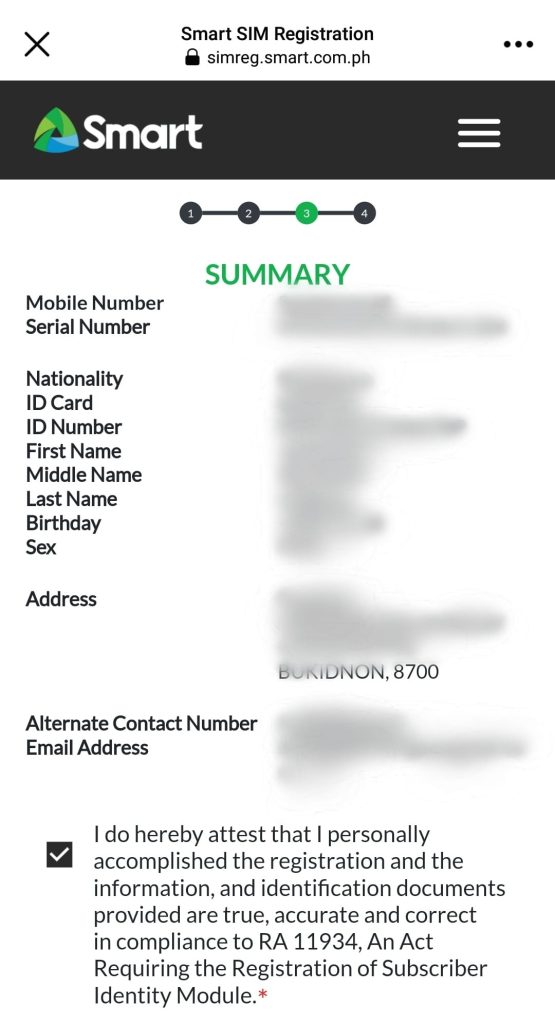
Step 13. Summary of Information with SERIAL NUMBER.
Check the “I do hereby attest…” check box.
Step 14. Now here’s the tricky part. It will take a while to load.
“Oops! Sorry your registration cannot be processed at this time. Please try again later.”
![]()
Step 15/ I was afraid to lose my data and the effort I’ve worked on the process. It prompted over and over again. So I just patiently resent my data, clicked Next and let it load.
✓ Finally after so many tries and minutes of resending
“Thank you! You have successfully registered your SIM”
![]()
Step 16. Take a screenshot of your Control Number as this will serve as your Certificate of Registration.
There you go! You can now register other SIM Cards as well. Hope this helps!
Credits:The Little Farmer Guy